


Hey there! As an automotive decorative strip supplier, I often get asked this question: "Can automotive decorative strips be removed without damage?" Well, let's dive right into it and find out.
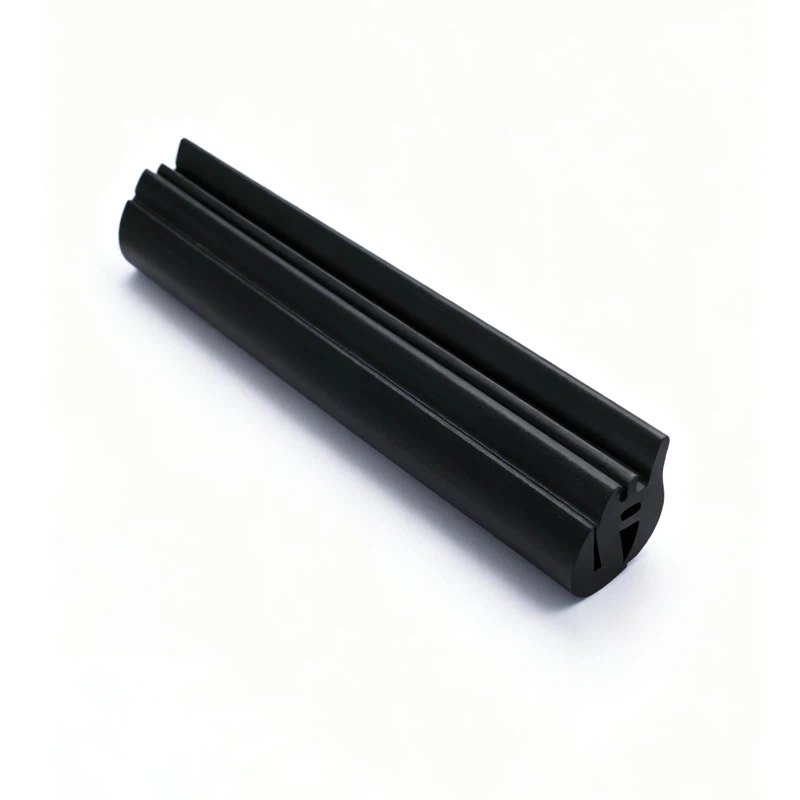
First off, let's understand what automotive decorative strips are all about. These strips come in various shapes, sizes, and materials, and they serve both aesthetic and functional purposes. They can enhance the look of a vehicle, giving it a more stylish and polished appearance. At the same time, some decorative strips, like Automotive Door Seal Strip, Automotive Window Glass Seal Strip, and Automotive Body Seal Strip, also play a crucial role in sealing the vehicle, preventing water, dust, and noise from getting inside.
Now, back to the main question. The answer is, it depends. There are several factors that can affect whether you can remove automotive decorative strips without causing any damage.
1. Type of Adhesive
Most automotive decorative strips are attached to the vehicle using some kind of adhesive. The type of adhesive used can make a big difference. Some adhesives are designed to be relatively easy to remove, while others are super strong and can be a real pain to get off.
For example, if the strip is attached with a light - duty adhesive, you might be able to remove it without much trouble. You can start by using a plastic pry tool to gently lift one corner of the strip. Then, slowly and steadily pull the strip away from the vehicle at a low angle. This method can often work well for strips that are not too firmly bonded.
On the other hand, heavy - duty adhesives are a different story. These are usually used for strips that need to withstand a lot of wear and tear, like those on the body of the vehicle. When dealing with heavy - duty adhesives, there's a higher risk of damaging the paint or the surface of the vehicle. If you try to yank the strip off too quickly, you might end up peeling off the paint along with it. In such cases, it's often better to use some adhesive removers. There are many commercial adhesive removers available in the market. You can apply the remover to the adhesive area, let it soak in for a few minutes, and then try to remove the strip again.
2. Age of the Strip
The age of the automotive decorative strip also matters. Over time, the adhesive can dry out and become more brittle, or it can bond more strongly with the vehicle's surface. If the strip has been on the vehicle for a long time, say several years, it might be more difficult to remove without damage.
As the strip ages, the adhesive might start to break down in some areas, causing the strip to lift or peel in spots. This can actually make the removal process a bit easier in those areas, but it also means that the remaining adhesive might be more stubborn. You may need to be extra careful when removing an old strip to avoid scratching the paint or leaving behind a lot of adhesive residue.

3. Vehicle Surface Material
The material of the vehicle's surface where the strip is attached is another important factor. Different materials react differently to the removal process.
If the strip is on a painted surface, you need to be extremely careful. Painted surfaces are prone to scratches and damage. Even a small scratch can be quite noticeable and may require repainting. When removing a strip from a painted surface, it's best to use soft - edged tools and avoid applying too much pressure.
On the other hand, if the strip is on a plastic or rubber surface, the risk of damage is generally lower. Plastic and rubber are more flexible and can usually withstand a bit more force during the removal process. However, you still need to be careful not to tear or deform the surface.
Tips for Removing Automotive Decorative Strips Without Damage
Here are some tips that can help you remove automotive decorative strips without causing too much damage:
- Use the Right Tools: Invest in a good set of plastic pry tools. These are designed to be gentle on the vehicle's surface and can help you lift the strip without scratching it. Avoid using metal tools unless absolutely necessary, as they can easily scratch the paint.
- Heat the Adhesive: If possible, use a heat gun or a hair dryer to warm up the adhesive. Heat can make the adhesive more pliable and easier to remove. Just be careful not to overheat the area, as too much heat can damage the paint or the strip itself. Keep the heat gun or hair dryer at a safe distance and move it around the area to distribute the heat evenly.
- Take Your Time: Rushing the removal process is a surefire way to cause damage. Take your time, be patient, and work slowly. If you encounter a particularly stubborn spot, don't force it. Instead, try using an adhesive remover or applying more heat.
Step - by - Step Removal Process
Let's go through a general step - by - step process for removing automotive decorative strips:
- Prepare the Area: First, clean the area around the strip to remove any dirt or debris. This will make it easier to see what you're doing and prevent any dirt from getting under the strip during the removal process.
- Lift the Strip: Use a plastic pry tool to gently lift one corner of the strip. Start at the end of the strip and work your way along. If the strip is firmly attached, you may need to use a bit more force, but always be gentle.
- Apply Adhesive Remover (if necessary): If the strip is not coming off easily, apply some adhesive remover to the area where the strip is attached. Let it soak in for a few minutes according to the instructions on the product.
- Continue Removal: After applying the adhesive remover, try to remove the strip again. If it starts to come off, slowly pull it away from the vehicle at a low angle. If there are still some stubborn areas, you can re - apply the adhesive remover and repeat the process.
- Clean the Residue: Once the strip is removed, there will likely be some adhesive residue left on the vehicle's surface. You can use the adhesive remover again to clean the residue. Then, wash the area with soap and water to remove any remaining chemicals.
After - Removal Considerations
After you've successfully removed the automotive decorative strip, you need to take care of the vehicle's surface. If there are any minor scratches or marks, you can try using a scratch - remover product to buff them out. If the damage is more severe, you may need to take the vehicle to a professional auto body shop for repair.
Also, if you plan to re - attach a new strip or keep the area looking clean, make sure to thoroughly clean the surface. Remove all the adhesive residue, as any leftover residue can prevent a new strip from adhering properly.
In conclusion, while it is possible to remove automotive decorative strips without damage, it requires careful planning, the right tools, and a gentle touch. If you're not confident in your ability to remove the strips safely, it's always a good idea to consult a professional.
As an automotive decorative strip supplier, I offer a wide range of high - quality strips, including Automotive Door Seal Strip, Automotive Window Glass Seal Strip, and Automotive Body Seal Strip. If you're in the market for new automotive decorative strips or have any questions about the removal or installation process, feel free to reach out. We're here to help you find the perfect strips for your vehicle and ensure a smooth purchasing experience.
References
- "Automotive Detailing Basics" by Detailing World Magazine
- "How to Remove Automotive Trim" - online guide from AutoZone
- "Adhesive Technology in Automotive Applications" - research paper from a leading automotive engineering journal


